
3D Printer Bed Leveling: Easy Step-by-Step Guide
December 13, 20233D Printer Bed Leveling: Easy Step-by-Step Guide
Master 3D printer bed leveling for optimal prints. This article dives into the essentials of bed leveling, starting with problem identification and culminating with adjustments in Z height.
credit: source
Determining the Right Time to Level Your Bed
Achieving a level bed is critical for a uniform first layer in 3D printing. Signs of a well-leveled bed include evenly spread, slightly flattened filament lines. Conversely, indicators of a misaligned bed include poor filament adherence, inconsistent extrusion, and uneven filament dimensions across the build area.
Recognizing an Unlevel Bed: Common Symptoms
- Inconsistent filament adherence to different parts of the build surface.
- Partial or no filament extrusion in some areas.
- Varied filament thickness and height across the build area.
- Uneven spacing between filament lines.
Now that we’re equipped with problem-identifying knowledge, let’s explore the tools and techniques for perfect bed leveling!
credit: source
Essential Tools for 3D Printer Bed Leveling
The most efficient way to address bed leveling issues is to employ an Auto Bed Leveling (ABL) sensor. These sensors, though varied in technology, uniformly measure the distance between the nozzle/sensor and the build platform. Remember, implementing an ABL system often necessitates a firmware upgrade for effective functioning.
Even with ABL, periodic manual leveling is beneficial for a deeper understanding of your printer’s mechanics and for troubleshooting potential issues.
Manual Bed Leveling: A DIY Approach
For those without an ABL sensor, manual leveling is your go-to method. Here’s what you’ll need:
- Paper: A constant-thickness medium, like printer paper or a business card, to gauge the gap between the nozzle and build plate.
- Screwdriver or hex key: Essential for adjusting the bed’s screws.
- Heat-resistant gloves: Safety gear for handling hot components.
- Cleaning tools: A cotton cloth and brass brush for maintaining a clean nozzle.
- Build plate cleaning tools: A blade or spatula for residue removal, alongside dish soap, cloth, and isopropyl alcohol for thorough cleaning.
Setting the Stage: Pre-Leveling Preparations
Before jumping into adjustments, it’s vital to start with a clean slate.
Nozzle and Build Surface Cleaning Tips
Ensure the nozzle is free from residual plastic, which can be achieved by heating and wiping it. A brass brush may be used for stubborn residue, but gently to avoid damage. Likewise, the build surface should be debris-free, utilizing a blade or spatula for hard surfaces and cleaning agents like dish soap or isopropyl alcohol for thorough cleansing.
Temperature Considerations: To Heat or Not to Heat?
Whether to level your bed at operating temperature depends on your printing preferences. If you consistently use the same settings, pre-heating can account for material expansion and lead to more accurate leveling.
credit: source
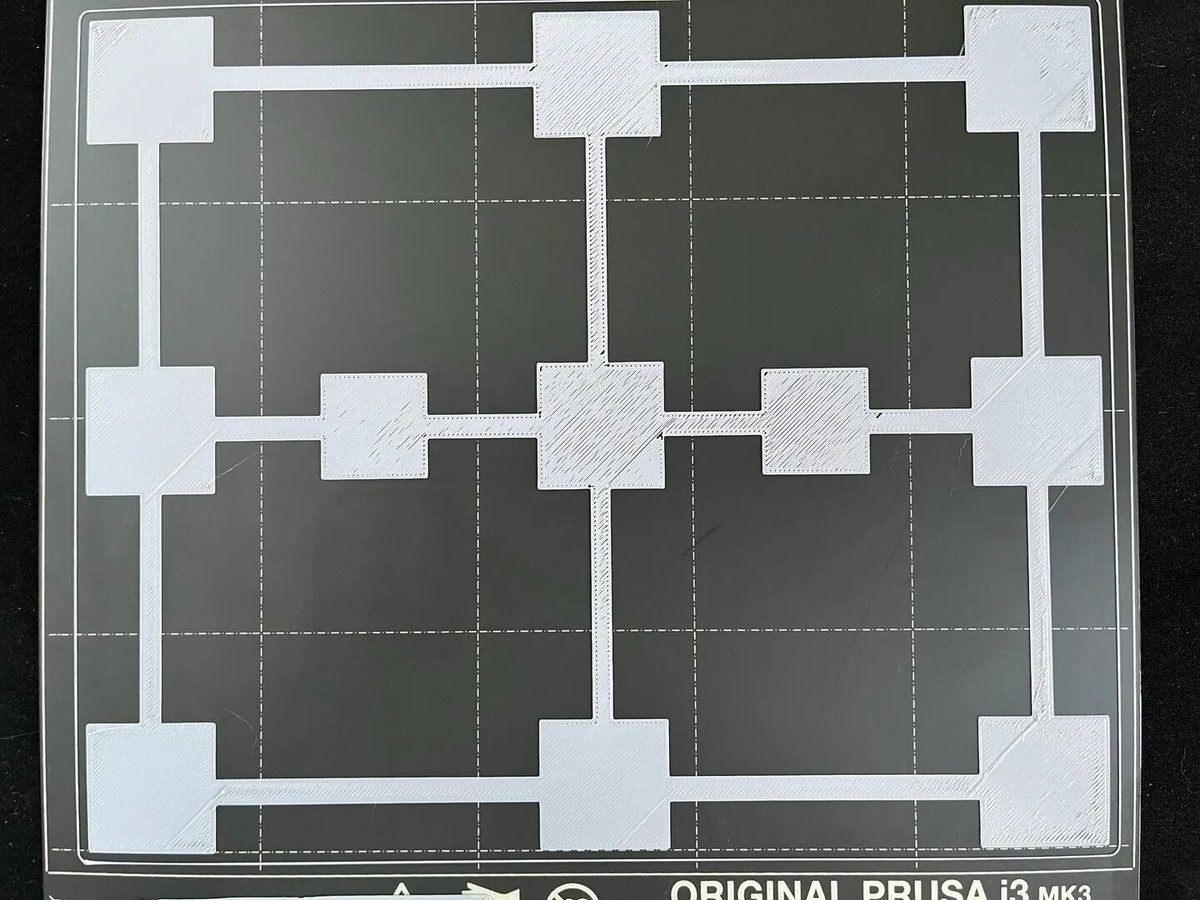
The Manual 3D Printer Bed Leveling Process
Bed leveling can be challenging but becomes more manageable with understanding and practice. Here’s the process:
- Create Room for Adjustment: Loosen the bed screws slightly to increase the nozzle-to-bed distance.
- Position the Printhead: Use your printer’s controls to bring the nozzle to the home position.
- Fine-Tune the Leveling: Using a paper, adjust each corner and the center for a slight resistance between the nozzle and bed. Ensure consistent pressure across all points.
- First Layer Inspection: Conduct a test print of the first layer to verify the leveling’s effectiveness.
Z Height Adjustment: A Fine Balancing Act
While bed leveling and Z height adjustments are related, they serve different functions and frequencies. Z height, set via firmware or slicer software, should remain relatively constant, with adjustments made only for specific printing needs.
credit: source
When to Tweak Z Height
Adjust the Z height when you notice signs of an inappropriate nozzle gap, such as too thin or thick first layers, or irregular filament extrusion.
